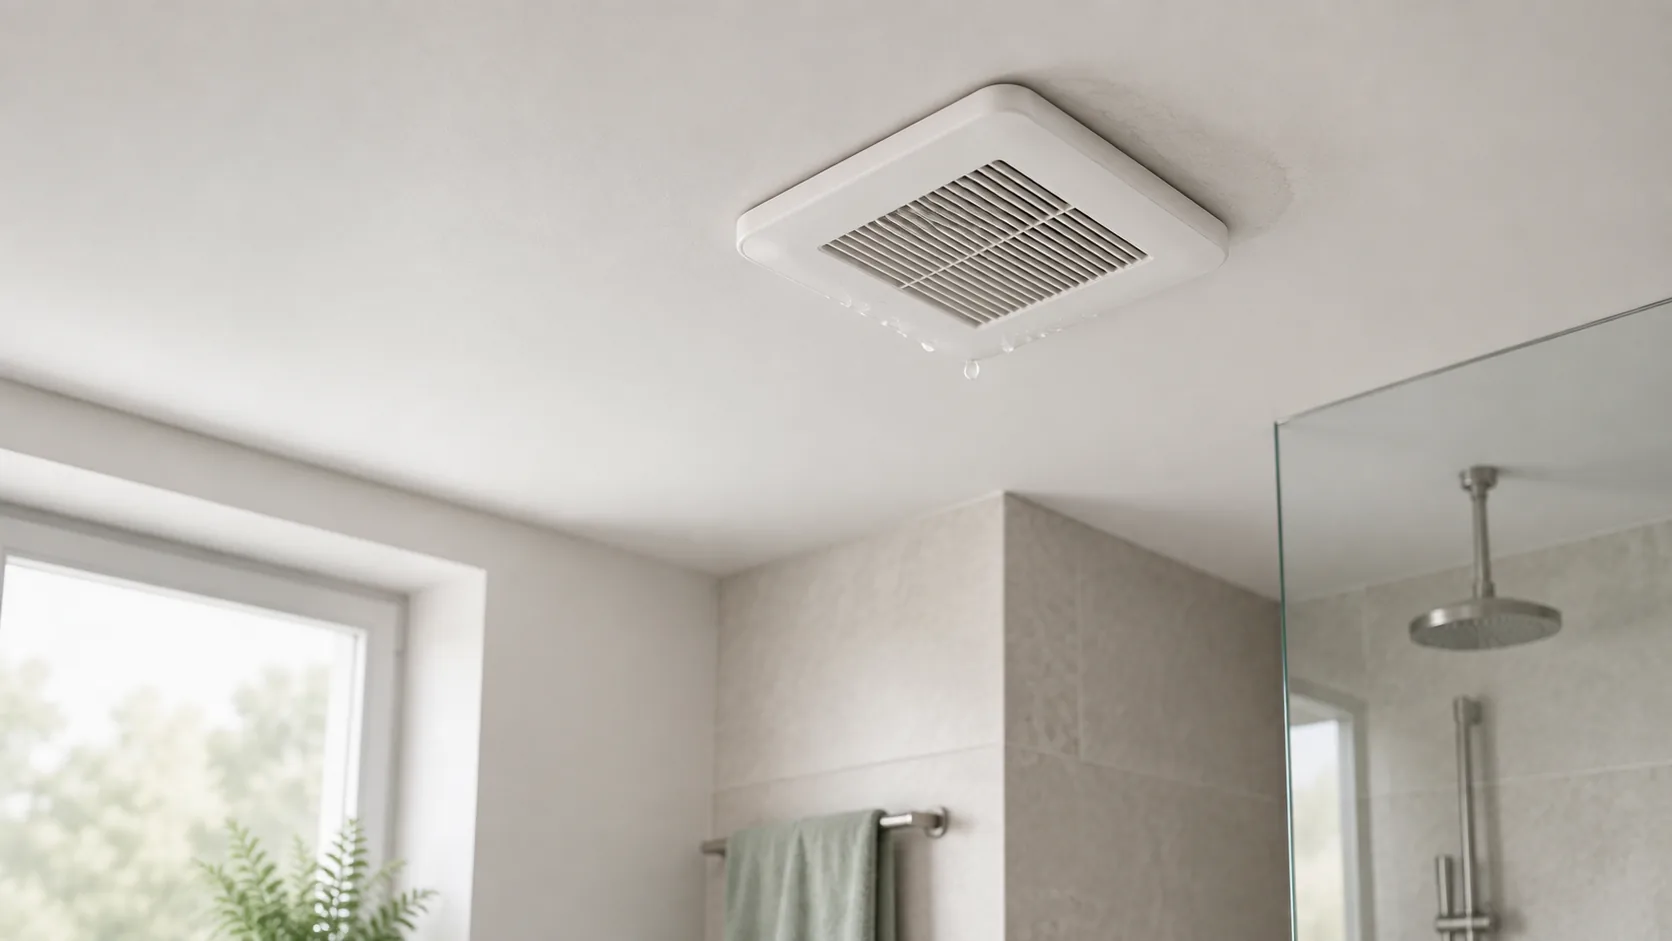
What this guide does—and does not—answer
This guide answers one narrow question: what should you do when water appears at or around the bathroom fan? It helps you classify the pattern and prepare useful evidence for a repair. It does not prove where the duct ends, measure airflow or provide instructions for opening a wet electrical fixture.
If the fan is dry and your question is only where it discharges, use the separate bathroom exhaust-route checklist. If the route is correct but humidity recovers slowly, use the post-shower fan runtime guide.
1. Make the wet electrical area safe
Treat water at a powered ceiling fan as an electrical concern before treating it as a ventilation problem. Keep people away from the drip and do not touch the grille, housing, switch, wet ceiling material or pooled water beneath the unit.
Ready.gov advises not touching wet electrical equipment or doing so while standing in water. A wall switch in the off position is not proof that every conductor in the fan housing is de-energized. Leave inspection, testing and re-energizing of a water-affected fan to a qualified electrician.
If water is spreading across the ceiling, staining grows quickly, material sags, or a steady leak continues, move out from beneath the area. Do not puncture a ceiling or fan housing to release water; hidden wiring and an unstable wet surface can make that dangerous.
Three common patterns to separate
The drip location alone cannot identify the source. Timing and weather provide a more useful starting point.
| Pattern | Possible source | What it does not prove |
|---|---|---|
| Water appears during or soon after a hot shower, especially in cold weather | Condensation may be forming inside a cold, uninsulated, sagging or poorly sloped exhaust duct | It does not prove the fan motor failed or that insulation alone is the complete repair |
| Water appears during rain, wind-driven rain, snowmelt or a thaw | An exterior cap, roof flashing, wall penetration or nearby building leak may be admitting water | It does not prove the visible roof cap serves this bathroom fan |
| Water appears while the bathroom and fan have not been used | A plumbing, roof, condensation or neighboring-space source may be wetting the ceiling | It should not be attributed to shower steam without further inspection |
| Staining or dripping follows both showers and storms | More than one defect may exist, or an existing wet assembly may respond to several conditions | One successful quick fix does not prove every source is resolved |
Why condensation can return through the fan
Warm, humid shower air cools as it travels through a duct in an unconditioned attic or other cold space. When the duct surface is cold enough, some water vapor can become liquid. Low points and sags can collect that water; a route that pitches back toward the fan can let it return to the housing.
The U.S. Department of Energy's Building America Solution Center says bathroom ducts should take a direct route outdoors, be supported to avoid sagging, have sealed joints and be insulated to minimize condensation. Its installation guidance also says that, where possible, a side-wall terminal slightly below the fan allows the duct to slope down and away from the housing so incidental condensation moves toward the exterior.
Those are design principles, not a universal do-it-yourself repair. The correct duct material, size, insulation, slope, sealing and termination depend on the fan instructions, the building and local requirements. Water can also be entering from outside, so wrapping a duct without identifying the source may hide rather than solve the problem.
2. Record when the dripping happens
Write down the first and last time water was visible and what happened beforehand. Do this without touching the wet fixture.
- Was a shower running, and for how long?
- Was the fan on during the shower, afterward or not at all?
- Was the outdoor weather cold, rainy, windy, snowy or thawing?
- Did the drip start only after the fan stopped?
- Has the bathroom been unused for hours?
- Are there plumbing fixtures, a roof valley or another bathroom above the area?
- Does the water appear clear, discolored or accompanied by ceiling debris?
Do not taste, smell closely or handle unknown water. Discoloration can come from building materials and does not identify whether the water is clean or contaminated.
3. Check only safely visible exterior clues
From the ground, look for a plausible wall, soffit or roof termination in the direction of the bathroom. Take photos of visible damage, a loose wall cap, missing pieces or staining. Do not use a ladder or climb onto a roof to inspect a cap.
A roof or wall cap needs weather protection and a working damper, but seeing a cap does not establish that the bathroom duct is connected to it. The DOE guidance recommends a dedicated exterior termination, sealed duct connections and an operating damper. Use the fan vent destination guide to understand the distinction without duplicating that full inspection here.
If dripping closely follows rain or snowmelt, a roofer or other qualified building professional should inspect the exterior penetration and nearby roof or wall assembly. Do not apply sealant from inside the bathroom and assume the weather path is fixed.
4. Set a firm access boundary
A wet fan is not the time to remove the grille for routine cleaning. Do not pull down the cover, unplug a motor plate, probe the housing, disconnect a duct or test wiring. Wait for the water source and electrical condition to be assessed.
Even when attic access is safe for a qualified person, the useful inspection must distinguish water inside the duct from water on its exterior, inspect insulation and support, verify sealed connections, and examine the roof or wall termination. A photo from the hatch may help, but an inaccessible route should be recorded as unverified rather than guessed.
5. Document the evidence before it dries
From a safe position, collect information that lets the right trade prepare for the visit:
- Photograph the fan, drip and surrounding ceiling from the floor.
- Record the date, time, weather and recent shower use.
- Note whether the fan was running when water appeared.
- Mark the edges of a dry stain lightly only if the ceiling is stable and can be reached without approaching the wet fixture; otherwise use photos for comparison.
- Note sagging, peeling paint, soft materials, odor or recurring discoloration without pressing on the area.
- List any room, plumbing fixture, roof feature or attic space above the fan.
- For a rental, send the notes and photos to the property manager in writing.
EPA moisture guidance emphasizes correcting water problems and drying damp materials promptly. Documentation should not delay action when water is actively entering or building material is becoming unstable.
6. Arrange the repair that matches the source
| Evidence pattern | Useful first contact | What to ask them to verify |
|---|---|---|
| Water is in or around the fan housing | Qualified electrician, coordinated with the source-repair trade | Safe isolation, water exposure, fan condition and requirements before re-energizing |
| Dripping follows showers or cold weather | HVAC, ventilation or home-performance professional | Duct route, support, slope, insulation, sealed joints, exterior termination and delivered airflow |
| Dripping follows rain or thaw | Qualified roofer or exterior-envelope professional | Cap, flashing, roof or wall penetration and nearby water paths |
| Water appears without bathroom use and plumbing is above | Qualified plumber or building professional | Supply, drain, fixture and hidden-leak sources before opening finishes |
| Rental or multifamily building | Property manager or building maintenance | Whether the grille connects to an individual duct or a shared exhaust system and who owns each repair scope |
More than one trade may be needed. An electrician can judge the wet fan but may not repair roof flashing. A roofer can stop rain entry but may not commission exhaust airflow. Ask each provider to document the source found, the repair made and the conditions for safe operation.
What not to do
- Do not keep running the fan to “dry itself.” Water-affected electrical equipment needs assessment before further use.
- Do not reset a breaker that tripped while the fan was wet. Treat the trip as a reason for qualified inspection.
- Do not drill or puncture the ceiling. Water, wiring and weakened material may be hidden above.
- Do not climb onto the roof. A leaking cap or flashing detail is not worth a fall risk.
- Do not assume every post-shower drip is duct condensation. Weather and plumbing sources can overlap with bathroom use.
- Do not clean or reinstall wet fan parts. The fan-cleaning guide applies only after the source is fixed and the equipment is confirmed safe.
- Do not paint over a stain before monitoring it. A hidden or recurring water path needs correction first.
How to verify the problem is actually solved
After the repair trade and electrician say the system is ready, keep the original notes. Repeat only normal use allowed by the fan manufacturer and the repaired ventilation design. Watch for water, new staining, odor, unusual sound and humidity recovery over several comparable showers and relevant weather events.
Use the bathroom humidity recovery test to check whether the room dries, but do not use a normal RH reading to rule out a roof or plumbing leak. If a musty odor or damaged material remains, follow the musty-odor moisture checklist and arrange material assessment as needed.
A repair is not complete merely because the visible drip stopped once. The source should be identified, wet material should be evaluated and the fan should be electrically safe, connected to a suitable outdoor route and operating as intended.
Frequently asked questions
Why does my bathroom fan drip only after a shower?
That timing is consistent with condensation forming as warm, humid exhaust air meets a cold duct, especially when the duct lacks insulation, sags or routes water back toward the housing. It is not proof. A qualified inspection should also rule out a leak and check the complete exhaust route.
Why does it drip when it rains?
Rain-related timing points toward an exterior cap, flashing, roof, wall or nearby building-envelope path. Stay off the roof and have a qualified professional inspect the exterior termination and surrounding assembly.
Can I keep using the fan if only a few drops appear?
No amount of water at the electrical fan should be treated as routine. Stop using it, avoid contact and arrange safe isolation and inspection. Do not judge electrical safety by the number of drops.
Should I replace the fan?
Not until the source is known. A new fan will not fix a roof leak, plumbing leak, disconnected duct, poor slope or missing insulation. Water exposure may mean the existing equipment needs replacement, but that decision belongs after source and electrical assessment.
Who should a renter call?
Report the issue to the property manager or building owner in writing, with dated photos and the timing pattern. Do not remove the grille, enter restricted spaces or arrange unapproved duct, electrical, roofing or plumbing work.
Bottom line
Water dripping from a bathroom exhaust fan can be duct condensation, exterior water entry or another building leak. Treat the wet fan as an electrical hazard first, then use shower timing, weather and safe observations to guide the inspection. Do not open the fan, attic or roof to make a guess. Identify the source, repair the water path, evaluate wet materials and have the equipment cleared before it is used again.