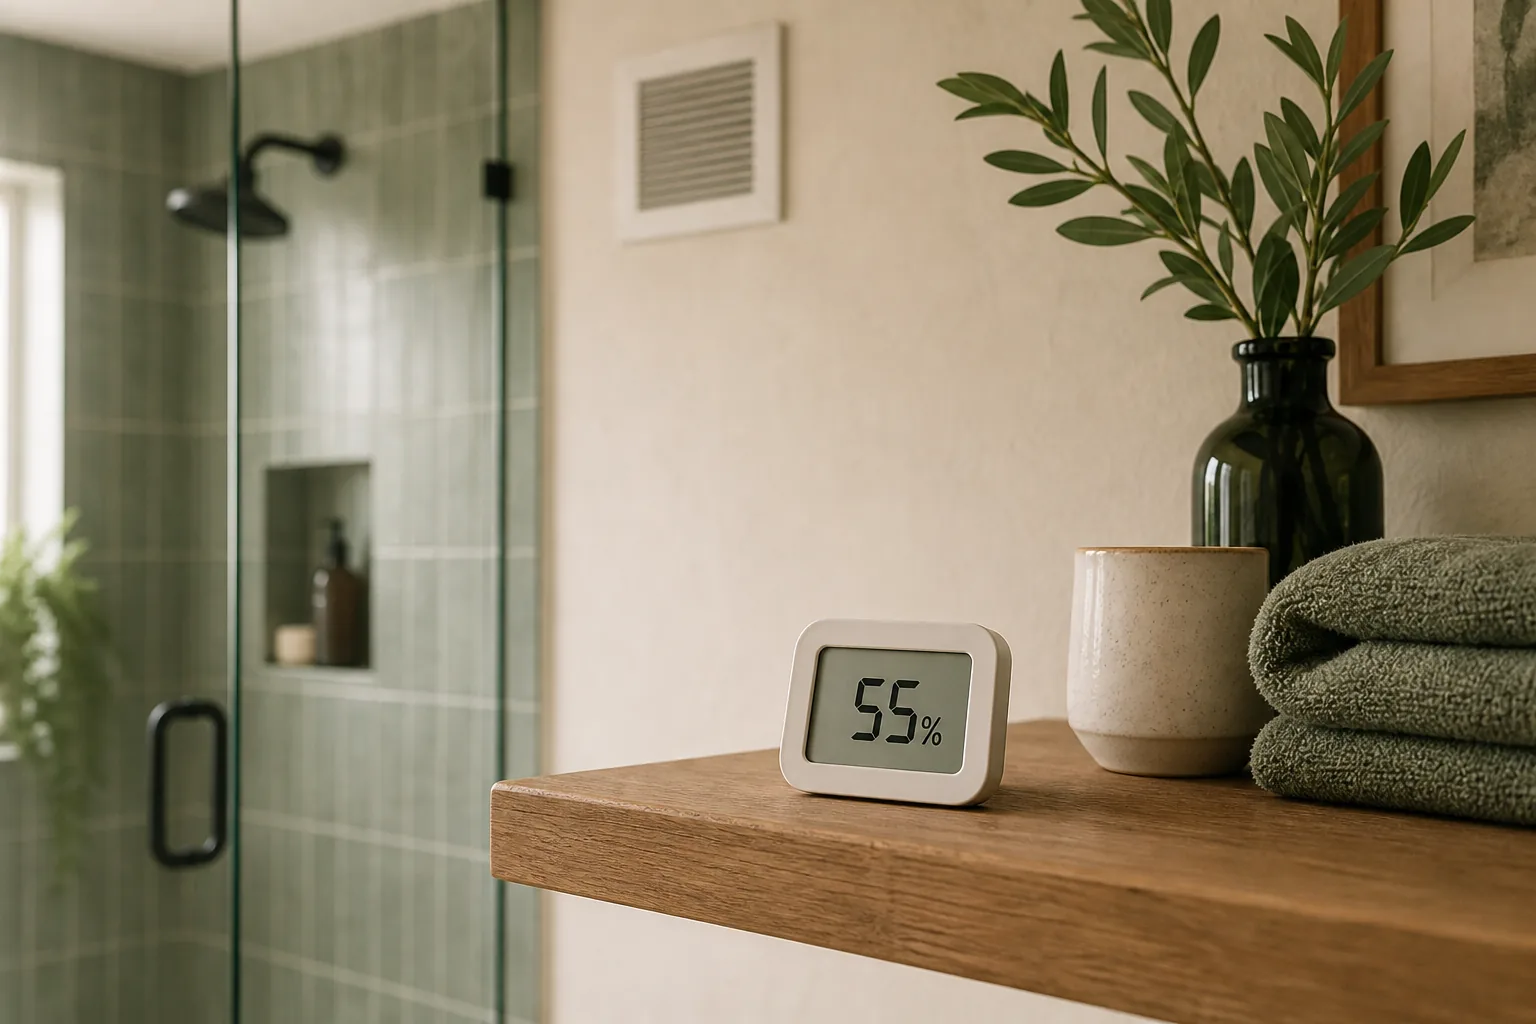
What bathroom humidity level is useful?
The U.S. EPA advises keeping indoor relative humidity below 60 percent if possible and ideally between 30 and 50 percent. That is general indoor guidance, not a promise that every bathroom will stay in that range while a shower is running. A temporary rise is expected when hot water adds moisture quickly.
For a bathroom, interpret the number together with timing and visible drying. A short peak followed by a clear downward trend is different from a room that stays elevated, remains wet for a long period or starts high before anyone bathes.
| Observation | What it may tell you |
|---|---|
| Repeatable pre-shower range | Your practical baseline for that room, season and meter location |
| Brief post-shower rise | A moisture event occurred; the peak alone does not diagnose a problem |
| Steady return toward baseline | The room is clearing the short-term moisture load |
| Reading stays high with wet surfaces | Review airflow, drying habits, wider-home humidity and possible moisture sources |
| High reading without recent bathing | Look beyond the shower routine and investigate the source |
What you need
A basic digital hygrometer that displays relative humidity and temperature is sufficient for a comparison test. A model with minimum and maximum memory is convenient, but a notebook, spreadsheet or phone note also works. The goal is not laboratory precision; it is consistent measurement under similar conditions.
Relative humidity, shown as RH, compares the moisture in the air with the maximum the air could hold at the same temperature. Warm air can hold more water vapor than cool air, so RH may change as the bathroom warms or cools even when no new water is added. Record temperature alongside RH.
1. Choose a representative location
Place the hygrometer where it samples normal bathroom air without being hit by water or a concentrated plume of steam. A dry shelf or counter around breathing height is often practical. Keep the device stable and follow its manufacturer instructions.
- Keep it outside tub and shower splash zones.
- Do not place it above a heater or warm appliance.
- Avoid a cold window, mirror or exterior wall.
- Keep it away from the exhaust grille, open window and door gap.
- Use the same location for every comparison.
A meter beside the shower may exaggerate the room-wide peak. One directly under a strong exhaust grille may make recovery look faster than it is elsewhere. Consistency is more important than finding one supposedly perfect location.
2. Record a baseline
Let the meter settle before recording RH, temperature and time. Note the door, fan and window positions and whether damp towels or bath mats are already in the room. Repeat this on more than one day when possible because weather and the home's heating or cooling can shift the baseline.
3. Run a consistent shower test
Use the bathroom normally, but make comparisons fair. Record shower duration, whether the water was unusually hot and which ventilation settings were used. Do not handle a powered device with wet hands or place it where it can be splashed.
Take a reading shortly after the shower ends without breathing directly onto the sensor. This is a reference point, not a pass-or-fail score.
4. Track recovery, not just the peak
Record the reading at regular intervals, such as every 10 or 15 minutes, until it moves toward the baseline. Keep the fan, door and window conditions consistent with the routine being tested. If something changes, note the time.
- Does RH begin falling after bathing stops?
- How long does it take to approach the pre-shower range?
- Do mirrors, walls or windows stay wet after RH starts falling?
- Does the room remain elevated on days without a shower?
- Does one ventilation change create a repeatable improvement?
Download the bathroom humidity recovery log
The file is a static CSV that opens in spreadsheet software. It stays on your device and is not submitted to DryBath Guide.
5. Interpret the pattern carefully
Climate, season, room temperature and building design all affect RH. Instead of reacting to one high number, look for sustained elevation, slow recovery and repeated condensation. A fast rise followed by a steady decline suggests a short event that the room is clearing. A reading that remains high or rises when the bathroom is unused deserves a closer look at airflow, damp materials and possible leaks.
6. Compare one change at a time
Repeat the test while changing one variable: run a working exhaust fan longer, clear a dusty grille, preserve the intended replacement-air path or remove standing water with a squeegee. Keep shower duration, meter location and reading intervals as similar as practical.
If several changes happen at once, the bathroom may improve but you will not know which action mattered. Use the log to compare one routine with another. For the next steps, follow our bathroom condensation checklist or compare a dehumidifier with an exhaust fan.
Common measurement mistakes
- Chasing one peak: Direct steam can create an unrepresentative number.
- Moving the meter: Different locations make tests harder to compare.
- Ignoring temperature: RH changes as air warms or cools.
- Changing the moisture load: A short shower and a long hot shower are not equivalent.
- Assuming noise means airflow: A running fan can still move little air.
- Expecting identical meters: Low-cost devices can differ; use one consistently and follow calibration guidance if supplied.
Frequently asked questions
Is 60 percent humidity too high for a bathroom?
EPA guidance says indoor RH should remain below 60 percent if possible. A bathroom may rise temporarily during bathing, so also consider duration, recovery and surface wetness. Persistent readings at or above that level deserve attention to moisture sources and airflow.
How quickly should bathroom humidity fall?
There is no universal time that fits every bathroom. Room volume, shower duration, temperature, outdoor conditions and ventilation all matter. Compare the room with its own baseline and look for a reliable downward trend.
Where should the hygrometer go?
Use a dry, stable location that represents the room's air and avoids direct spray, concentrated steam, cold surfaces and the exhaust grille.